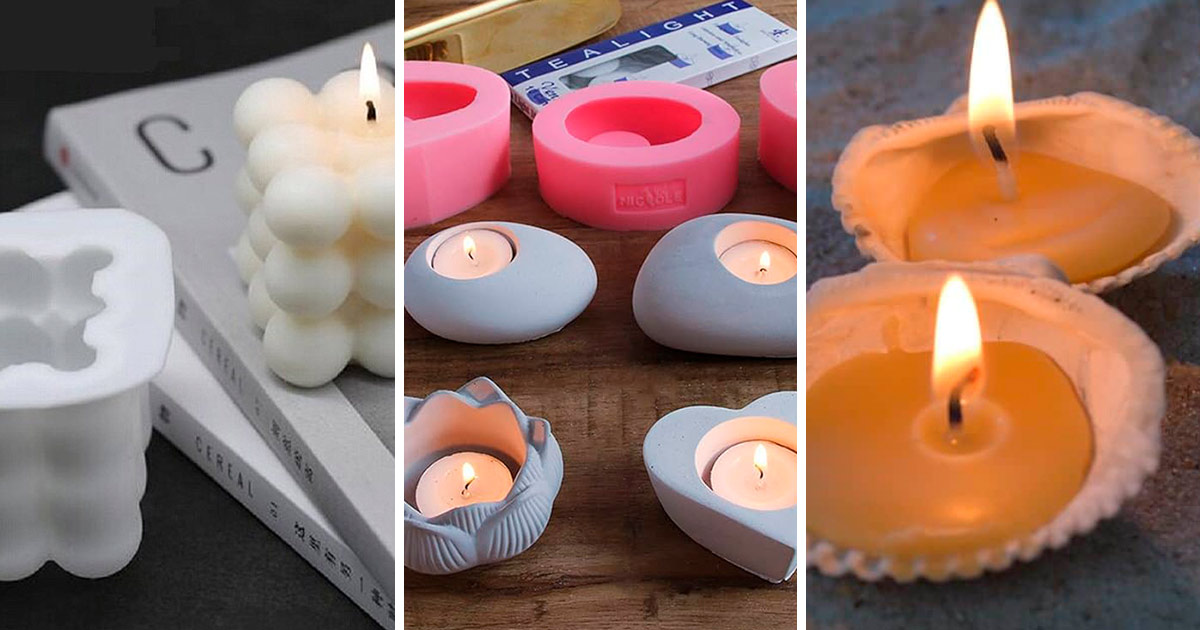
If you’re an avid candle maker or a decorator, you may have been looking for a high-quality and versatile way to create and decorate beautiful candles that last. Candle molds are a great way to create long-lasting and beautiful candles. With the right materials and techniques, you can make a variety of shapes and sizes of candles, while also achieving an even wax distribution. This blog post will explore the basics of candle molds, how to create them, and how to decorate them for an eye-catching result.
Table of Contents
What Are Candle Molds?
Candle molds are plastic or metal containers that hold molten wax in the desired shape for your candle. They come in many different shapes, sizes, and styles. Some are designed for use with a variety of different waxes, while others may be better suited for specific types of waxes. When choosing a mold for your project, consider the size and shape that you need as well as the type of wax that you plan to use.
How To Create A Candle Mold?
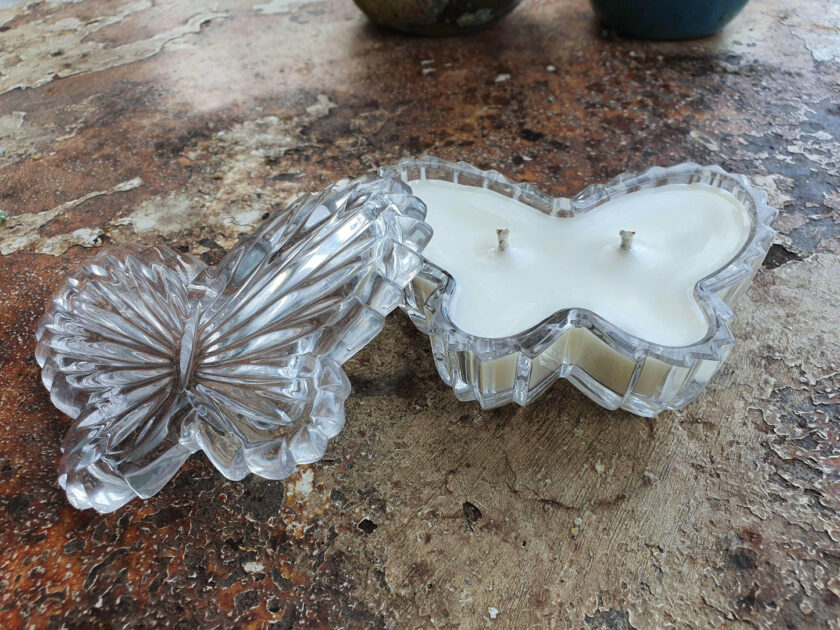
The first step in creating your own reusable candle mold is to find a material that will not melt or deform when exposed to the heat of the wax. Some materials that work well include silicone, metal, and plastic. You will also need a container such as a bowl or tray with edges high enough to hold the melted wax. Creating candle molds is simple but requires some preparation before beginning. First, decide on the size and shape of your desired candle mold. Then gather all necessary supplies such as wicks, wax (either paraffin or soy), thermometer(s), double boiler (or microwave oven), essential oils (optional), dye chips (optional), and molds (plastic or metal). Once everything is prepared you can begin creating your candle molds!
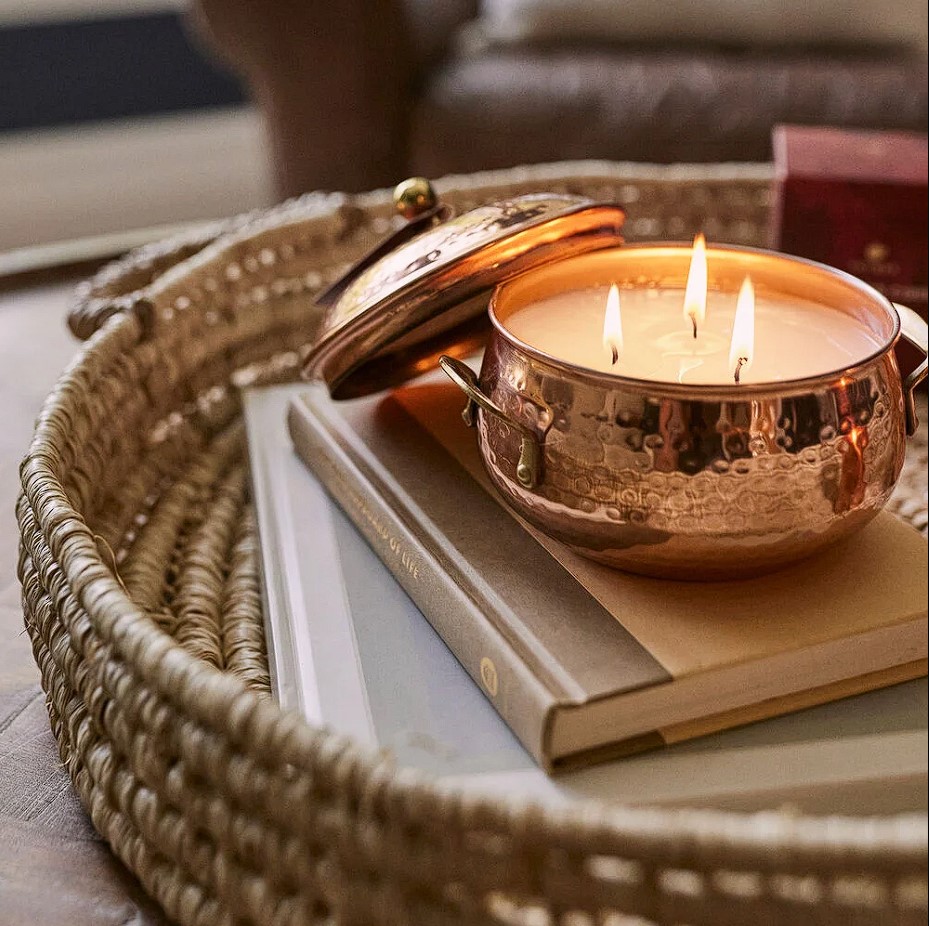
Start by melting the wax in either a double boiler or microwave oven until it reaches 180 degrees Fahrenheit on a thermometer. Once melted add essential oils and/or dye chips if desired. Then carefully pour into each mold ensuring they’re not overfilled as this could cause excessive smoke during burning time later on.
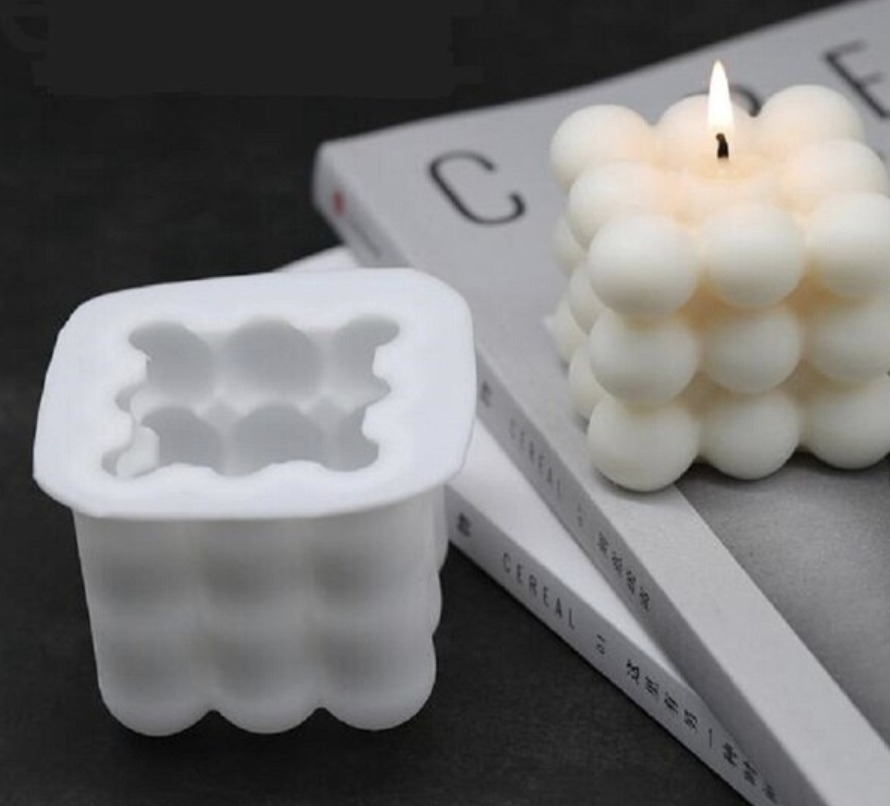
Allow cooling time before attempting to remove from mold – this should take several hours depending on size/shape/temperature used when pouring initially! Finally attach wick per manufacturer’s instructions before burning your beautiful new candle creations!
How To Decorate Candle Molds?
Once you have created your candle molds there are endless possibilities when it comes to decoration ideas! If you want something more traditional try painting the outside of the molds with craft paint – either spray paint or acrylics work great here!
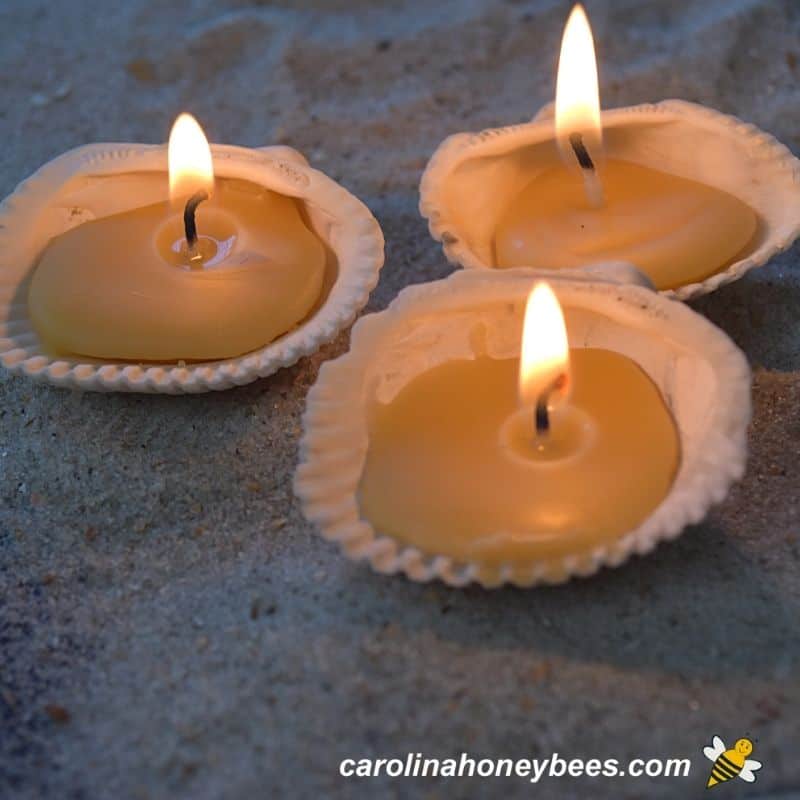
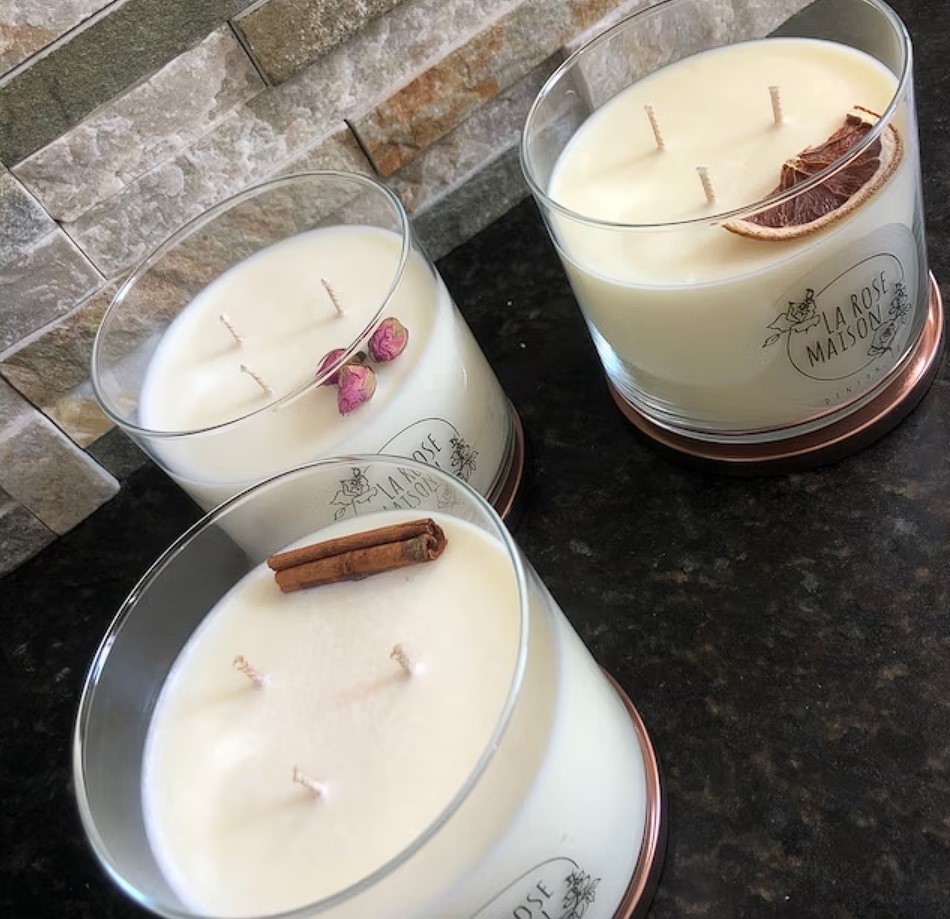
For a more natural look cover top layer with dried plants like lavender or rosemary which can give off subtle aromas when lit up too! If going for something unique why not embed glass fragments into surface before pouring hot wax in? Or try using glitter instead – just remember to use non-flammable versions here as regular glitters will catch fire during burning time! Whatever design choice you go with make sure it stands out from other candles around it – because after all isn’t that what makes us love our own creations so much?
The Benefits of Reusable Candle Molds
There are several benefits to using reusable candle molds when crafting your own long-lasting candles. Let’s take a look at some of the benefits of using candle molds to make your own customized candles.
Versatility
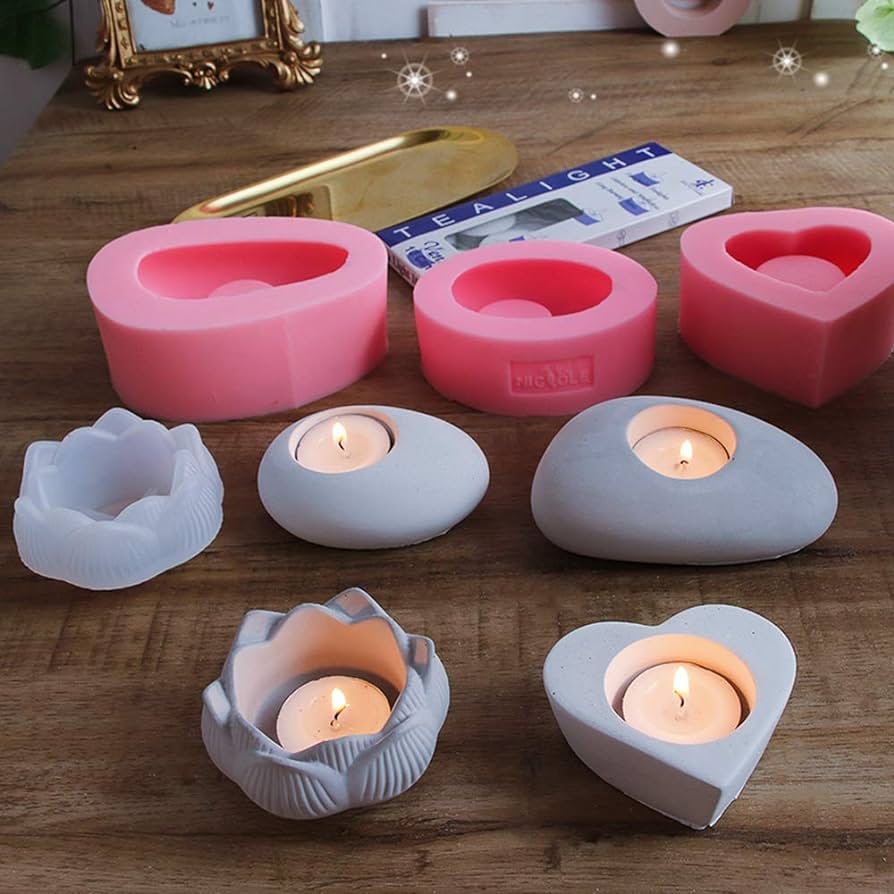
One of the main advantages of using candle molds is the versatility they offer. With them, you can easily create any size or shape candle to fit any occasion. For example, if you want to make an elegant tea light holder for a special event, you can use a mold to create the perfect shape and size. Or if you need something more unique like a heart-shaped pillar candle for Valentine’s Day, then again, a mold is perfect for creating exactly what you need.
Reusability
Another great advantage of using reusable candle molds is their reusability. After each use, all you have to do is clean the mold thoroughly with hot soapy water before reusing it again – this makes them last much longer than disposable molds which tend to get damaged or break after just one use. Plus, since most candle molds are made from metal or silicone, they are very durable and will not crack or break easily like plastic molds often do.
Easy Cleaning
Cleaning reusable candle molds is also quite easy due to their non-stick surface – simply soak them in hot soapy water for about 10 minutes before rinsing them off with cold water. This allows for quick and easy cleanup without having to worry about damaging the mold in the process! Additionally, since most reusable candle molds come with lids that allow air circulation while preventing wax spills during pouring, they are extremely practical and convenient – saving both time and money in the long run!
Finally
Candle molds are an excellent way to create your own candles, whether you’re looking for unique shapes or standard sizes, these versatile tools will help make your DIY project easier than ever before! With just some basic supplies like essential oils and dye chips – plus creativity – anyone can make beautiful candles that will last longer than most store bought ones while still being affordable too! So why not get started today?!
