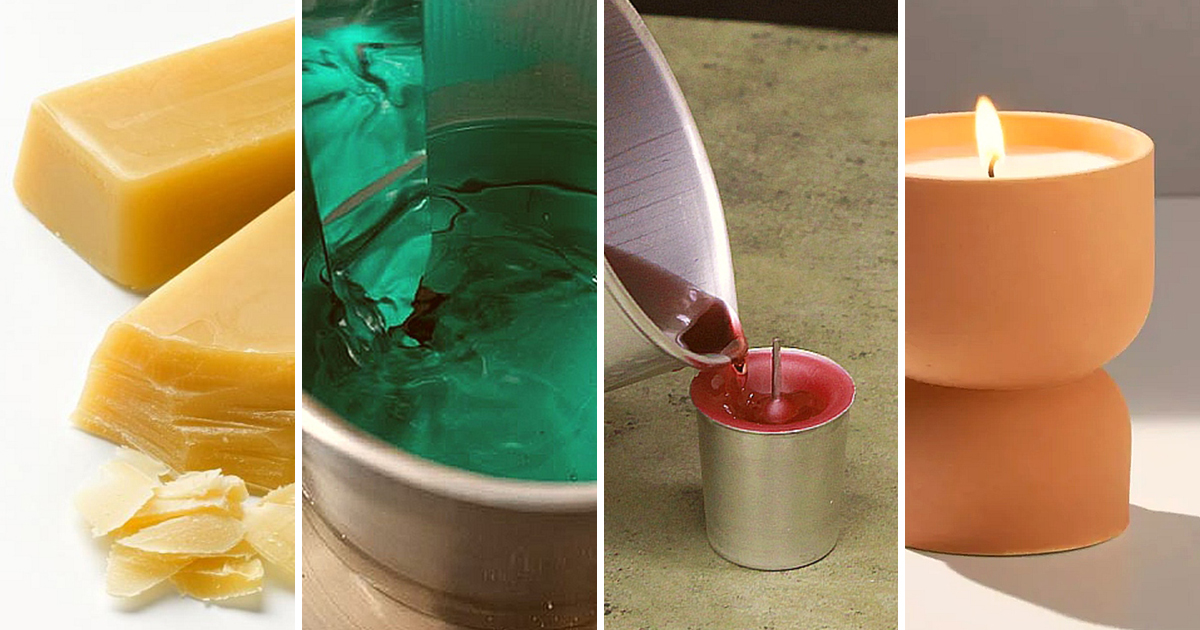
Candles add soft and welcoming touch to your ambiance. Peace, tranquility, relaxation and intimacy are few of the sensations that candles evoke. Candles have been used as a source of light and to illuminate our celebrations by adding a sense of warmth and romance.
From simple dinner arrangement to the superb birthday celebration, candles up the wow factor of your interiors and exteriors. Scented candles beautifully master the art of taking you back in time in an instant and help you reminisce sweet old days.
How to Make Votive Candles – 2023 Guide
Sometimes it becomes a bit tricky to choose the right votive candle that compliments your décor and matches your mood. If you are not happy with the luminaries available in the nearest store, indulge yourself in creativity and give your home décor a personalized touch of innovation by creating your own master piece. With a right blend of melt and pour and perfect choice of color and scent you can create your own little votives in just no time.
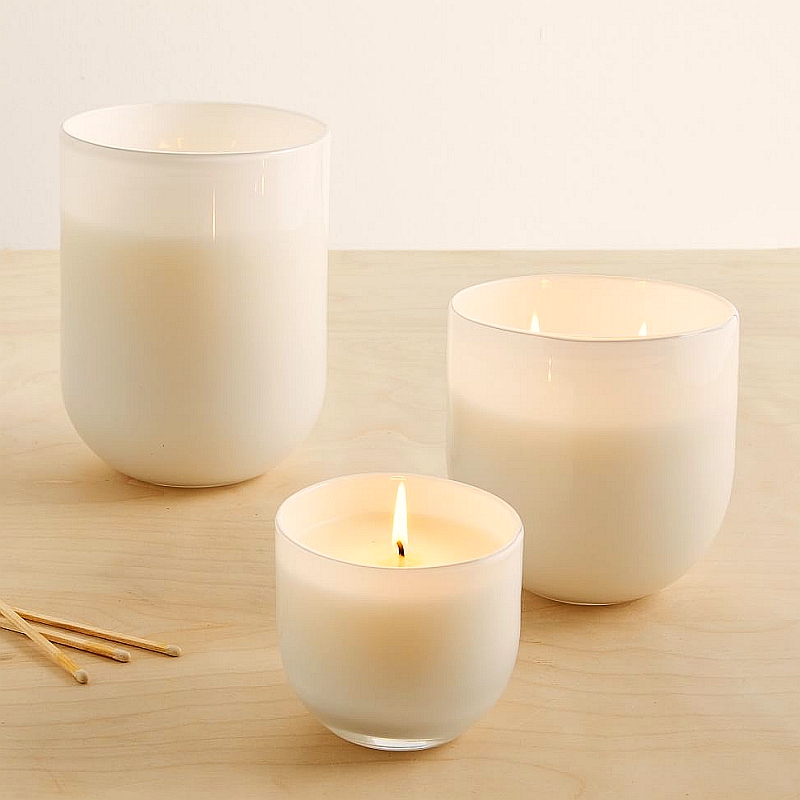
Votive candles add feel and cordiality to any setting and are simple to modify to the theme of your next special event or holiday celebration just by changing the color and fragrance. To make your own cute and classic votive candles, follow the simple yet interesting steps below and experience the real fun of votive candle making.
Readiness, materials and workstation
Before you get ready to be creative make sure you gather all the necessary supplies and your workspace is clear of surplus stuff so you can enjoy each step of creating the classy piece with complete focus.
Must Haves
- Good quality wax
- Fragrance
- Dye (Optional)
- Wicks
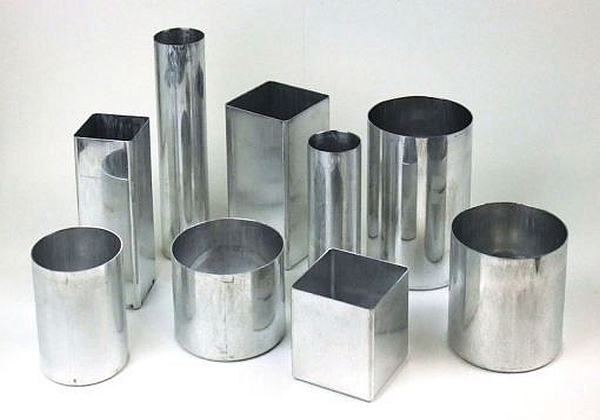
- Votive molds
- Pouring pot
Candle Wax
Which wax is best for candle making? And what is the best wax for beginner candle making? Let’s see the differents types of wax for candle making.
Best Wax for Candles
- Paraffin Wax: Cheap and also a great wax to start out with and ease of use.
- Soy Wax: Soy candles burn cleaner, and retains scents better than traditional candles.
- Coconut Wax: Odorless and colorless.
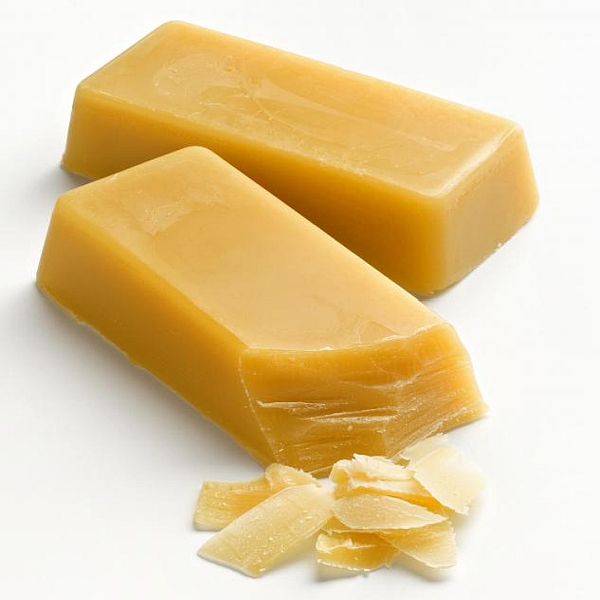
- Beeswax: It’s the oldest candle making wax and probably one of the best wax for candles.
Organize your molds
Place your clean molds on the newspaper to catch any spills. It is advised to slightly brush your votive molds with a thin coat of mold releasing agent for an easy pull of candle out of new molds once they are cooled.
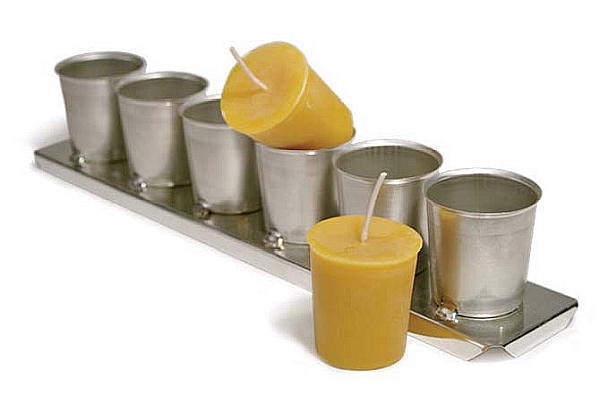
You can also pop your fully cooled votives in the freezer for few minutes to release the candle from molds.
Melt and Scent
Votives are no doubt one of the coolest styles of molded candles. They add a great charm and oomph to any setting. After you have collected all the essential supplies, it’s time to start the fun part of melting your wax. Be vigilant while the wax melts and keep stirring so that you get a fine liquid. Once the wax is almost fully melted, add your favorite dye. It is completely your choice if you need a darker shade or wants to just give a little touch of color change.
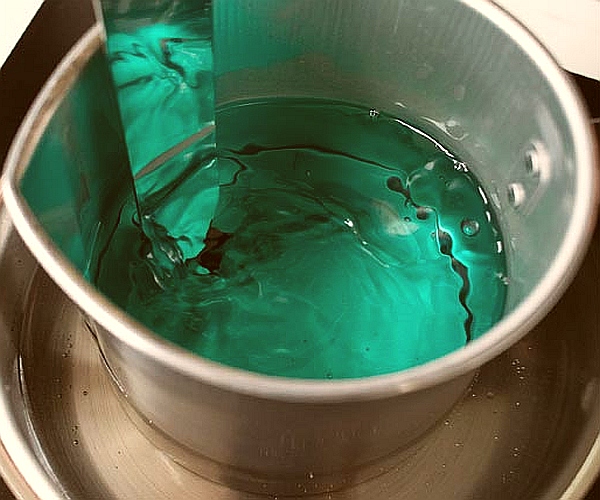
Decide on the amount of dye according to your décor setting or the flickering candle you are imagining in your mind. There is nothing more relaxing then slowly stirring the melting wax and mixing the fragrance scents together. Stir until the dye and the wax get completely melted and mixed.
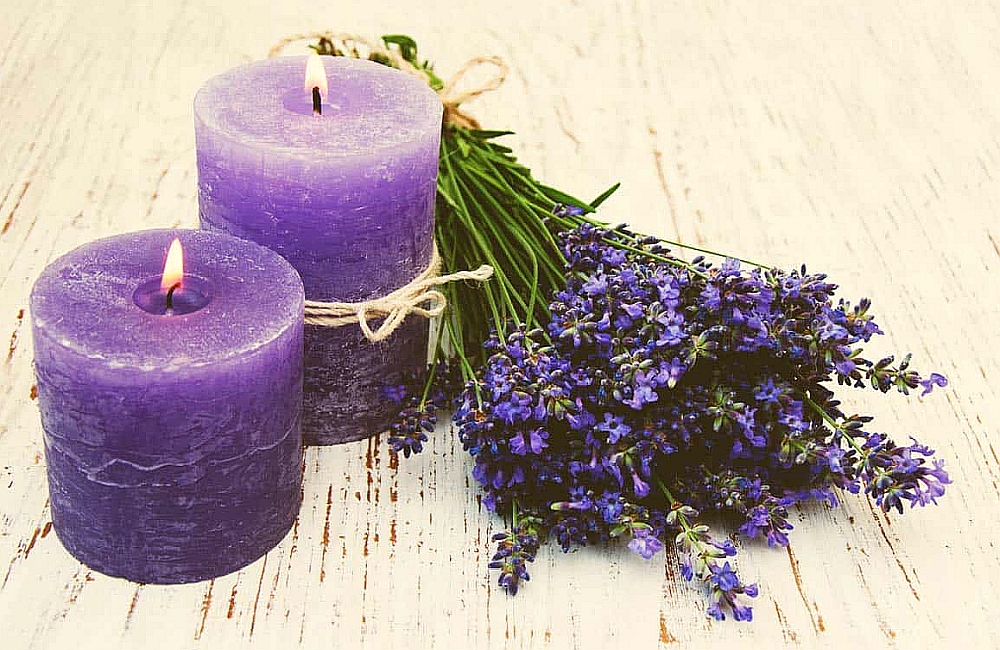
It’s now time to remove the wax from the heat to give it a nice fragrance. Add your favorite aroma and stir to combine.
Read more about scented candles: Gwyneth Paltrow candles
First and the second pour
As your wax is ready to be poured in the molds, waiting too long to pour will result in hardening your wax so take quick steps. It is suggested to fill the mold till the lip but be careful not to over flow the wax.
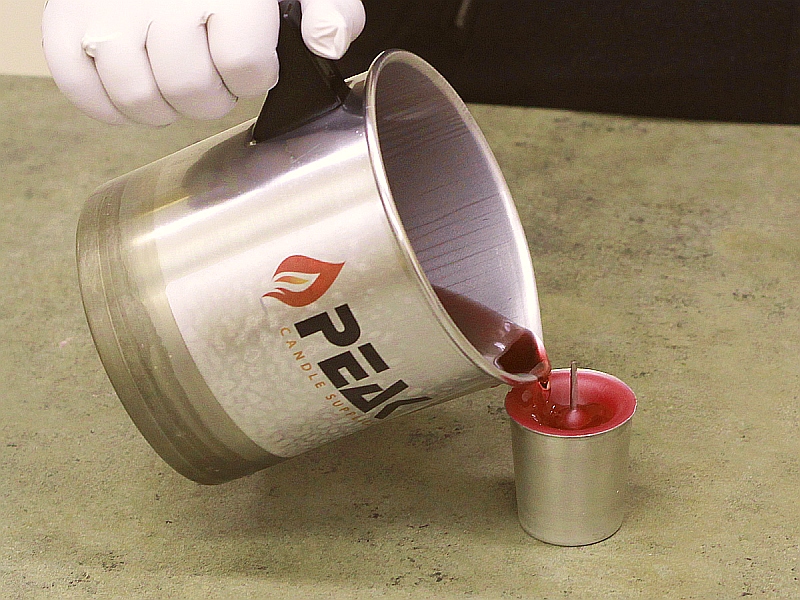
Pouring below the level might result in seam lines in your final product. Care and precautions need to be taken to avoid the bubbles while pouring. As a natural process the wax shrinks as it cools so save some for the next round. Pour around 80% and save up to 20% for a second pour.
It’s been a while, but I finally got the energy to make some new candles! pic.twitter.com/3Db1a8uTT1
— Aspects Candle Design (@AspectsCandles) April 24, 2022
Straighten your wicks
Give some time to the wax to cool down a bit. In the meantime, flatten your wicks. You have the margin of loose approximation at this point as perfection is not needed.
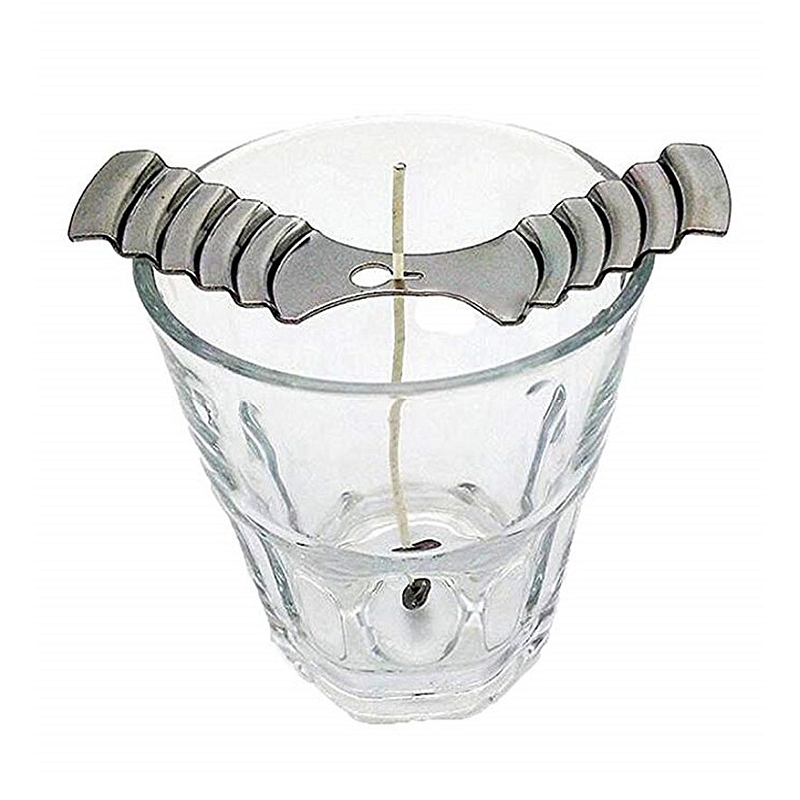
As the wax starts to cool, it’s the perfect time to insert your pre-tabbed wicks. Pre tabbed wicks are suggested for better results as these candle wicks have a coating of natural wax for maximum firmness and easy pours. Just take a rough idea of the center while positioning the tabs in the molds.
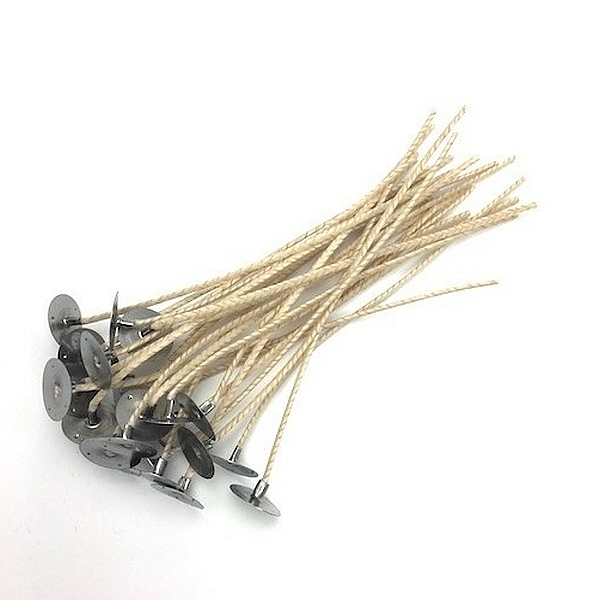
Let the metal tab create a strong bond with the base of the mold. At this point you can easily manipulate the wick for a proper and trim look. Now allow your wax to completely cool down before you proceed the next interesting step.
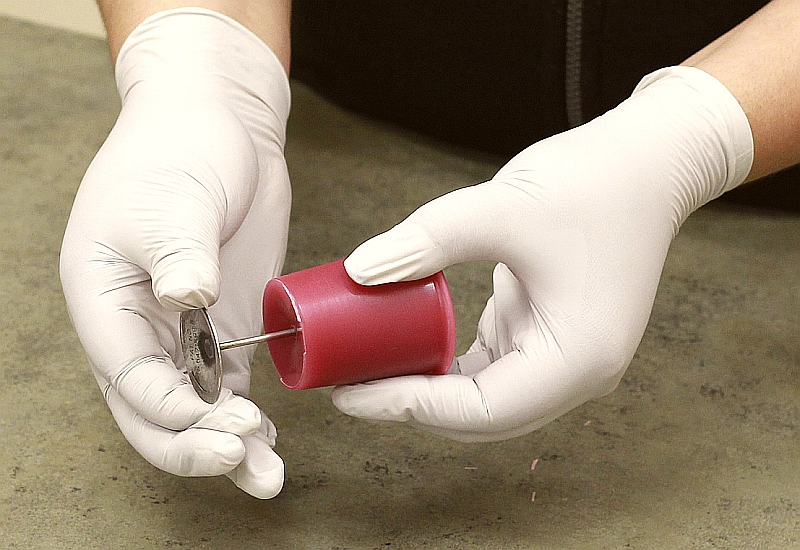
Next, check for the shrunken wax resulting into few empty holes to be refilled. Bring the saved 20% wax to melt again and fill the molds to a slightly above level of the previous one and allow your beautiful creation to completely cool.
Divulge the Beauty
It’s now time to unleash the gorgeous looking luminaries by pulling them out of their molds gently using the wick pin. They will surely slide out after being completely cooled, but still if you find difficulty, fret not, there is a pro tip of keeping them in the freezer for just five minutes which will do the trick.
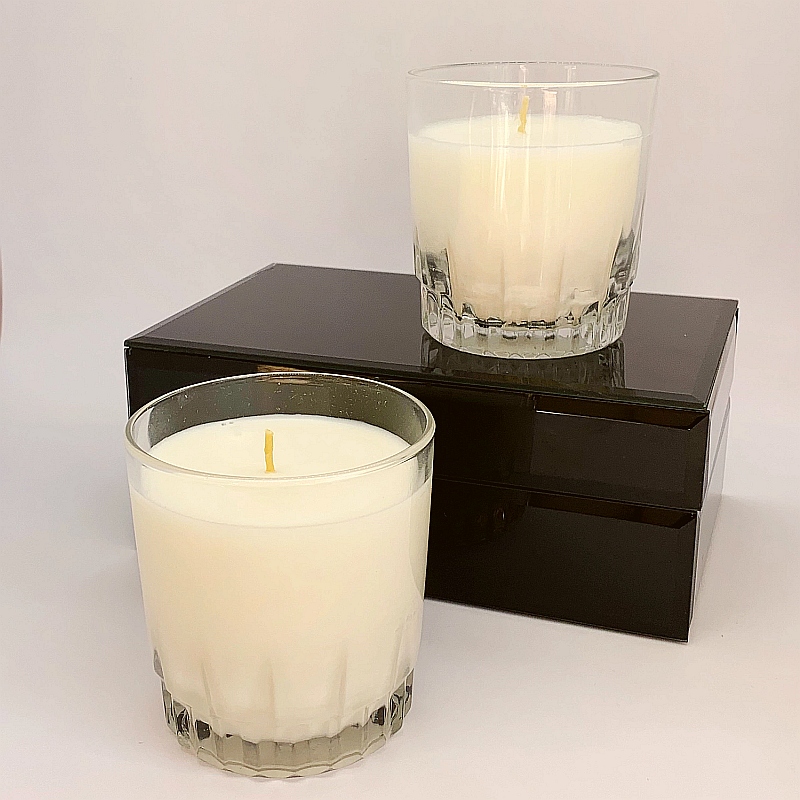
You will love the way these beautiful personalized votive candles will turn out. Votive candles are a versatile staple in any home décor. From classic dreamy white to a rainbow of colors, you have the endless possibilities in choosing and creating the various votive candles to adopt your style and compliment your mood.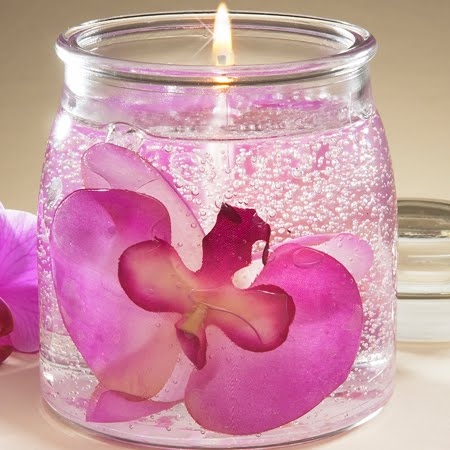
Whether you like to showcase a single master piece or want to have a dramatic display of glimmering votive candles, they will exude beauty all over for sure.
Be Creative!
Personalized homemade votive candles just not only add the touch of magnificence and romance to your décor but can be saved for gifts and wedding giveaways.
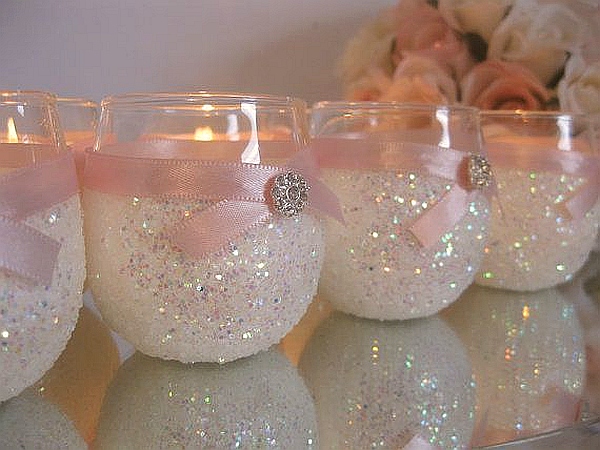
With little touch of creativity, these darling votives can be turned into memorable wedding favors. Make little tags to match the color of your candle. Write personalized messages to your guests and tag them to your cute little bundle of lights.
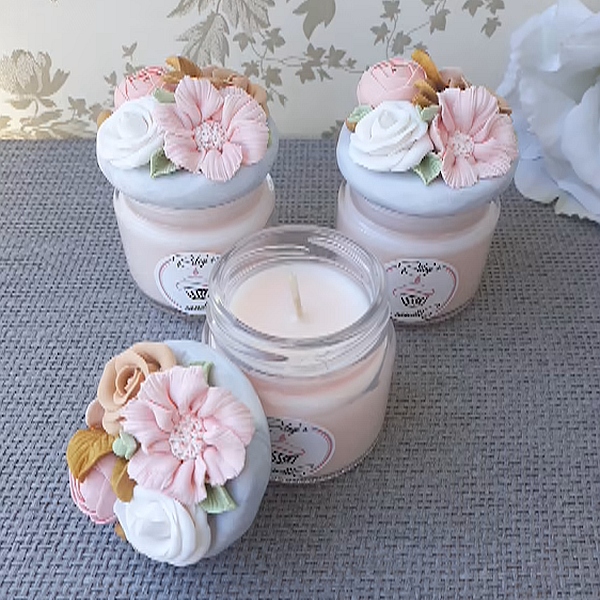
These lovingly homemade perfect favors will win the hearts of your guests and the ceremony will be remembered for long.
SHEA BUTTER NATURAL MELT & POUR SOAP BASE
added some new ingredients that are coming soon! https://t.co/fVNVMComrs pic.twitter.com/C5tDZMfLJ0— Candlewic (@letsmakecandles) March 2, 2021
DIY Candles: An Easy and Fun Activity
DIY candles can be a fun and creative activity that you can do in your own home. Whether you’re looking to make votive candles for a special occasion or to use as decorations around the house, there are some easy tips and tricks you can use to make the process easier. With a few simple supplies and a bit of creativity, you can create beautiful, one-of-a-kind votive candles.
Gather Your Supplies
When making votive candles, the first step is to gather the necessary supplies. You will need wax, wicks, a container for melting the wax, and whatever decorations you plan to use. Once you have all the supplies, it is time to get creative with your candles.
Get Creative With Your Candles
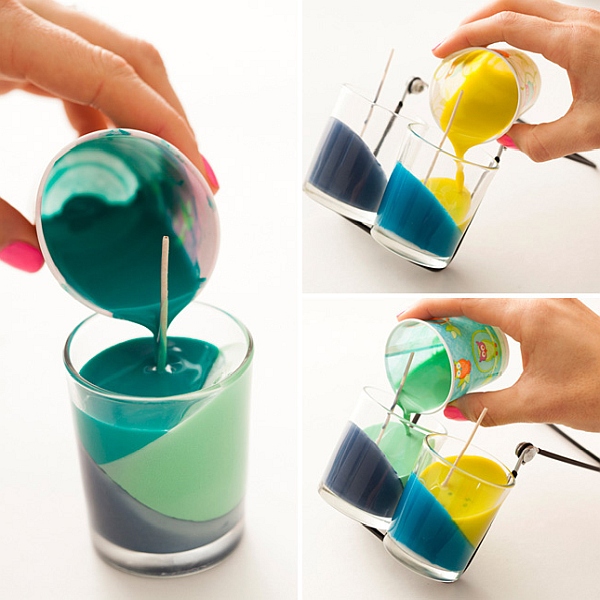
When making votive candles, the possibilities are endless. You can use different color waxes to create unique designs, or you can add beads, stones, and other decorations to make your candles stand out. You can also add fragrances or essential oils to make your candles smell nice. Once you’ve decided what you want your candles to look like, it’s time to start melting the wax and assembling your votive candles.
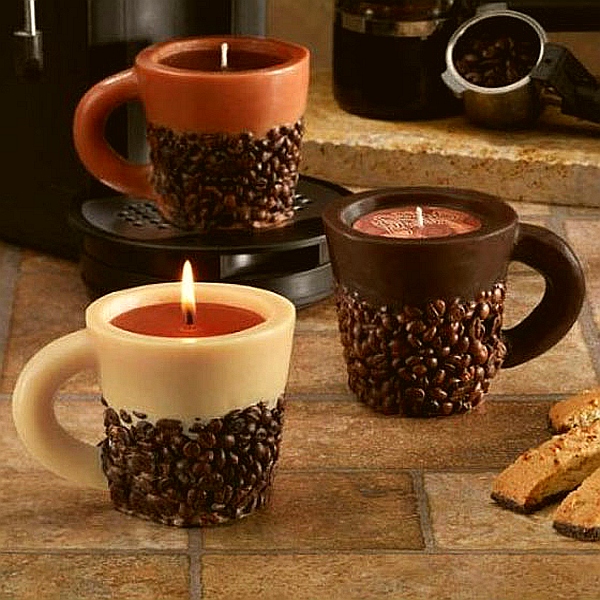
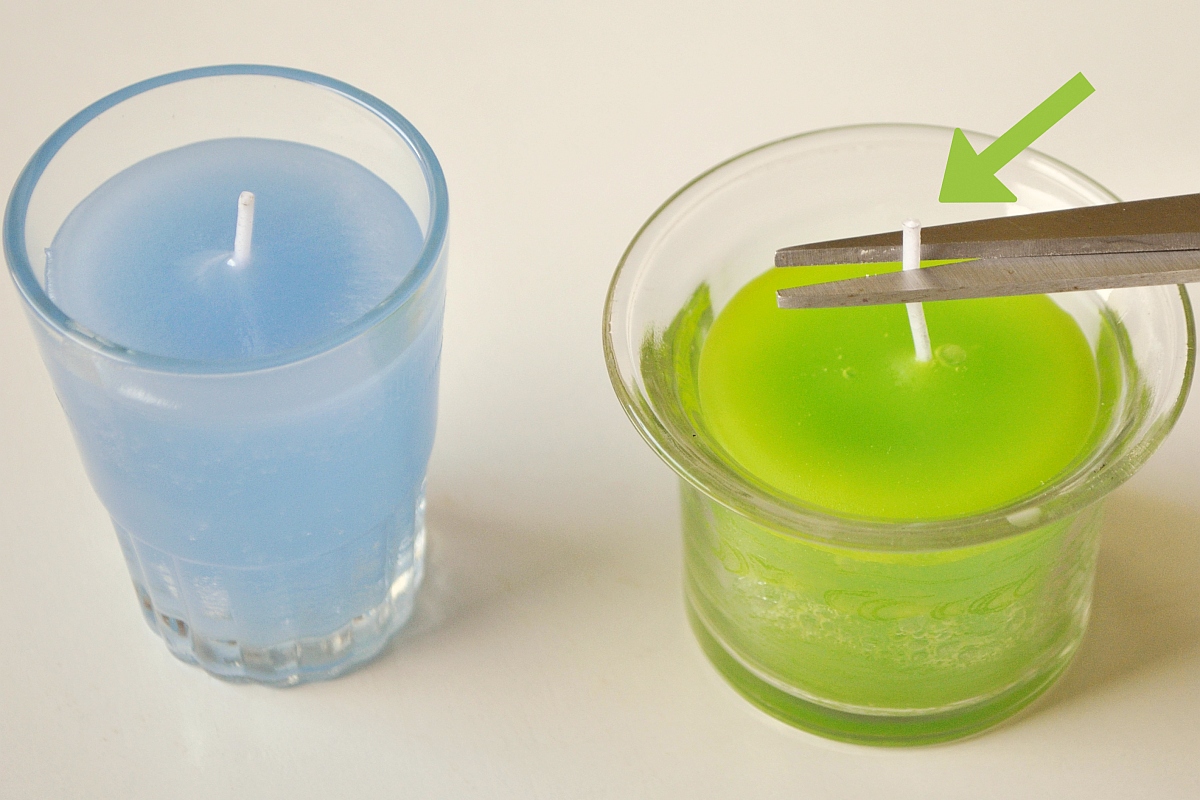
When melting the wax, it’s important to keep a close eye on it to make sure it doesn’t get too hot. Once it is melted, you can add any decorations or fragrances that you have chosen. After that, you can carefully pour the melted wax into the votive candle holders. Once the candles have cooled and set, you can trim the wicks and enjoy your beautiful creations.
Votive Candle Designs
DIY candles can be a fun and creative way to add unique decorations to your home. With a few simple supplies and a bit of creativity, you can create beautiful, one-of-a-kind votive candles to enjoy.
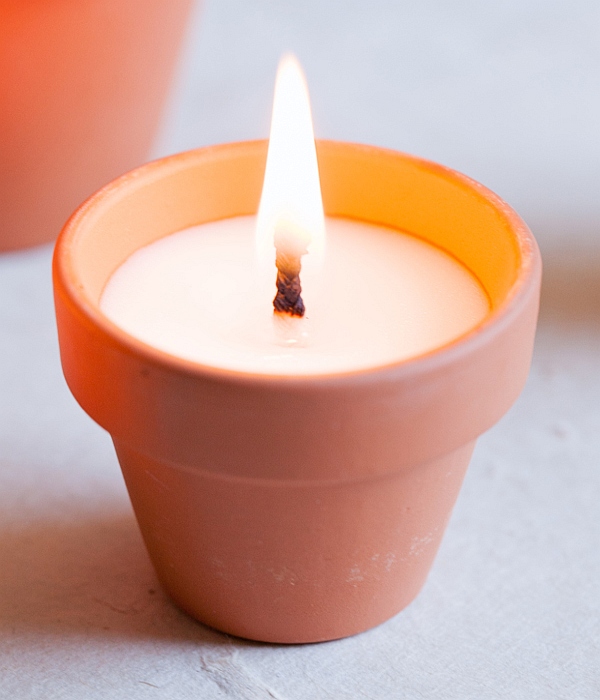
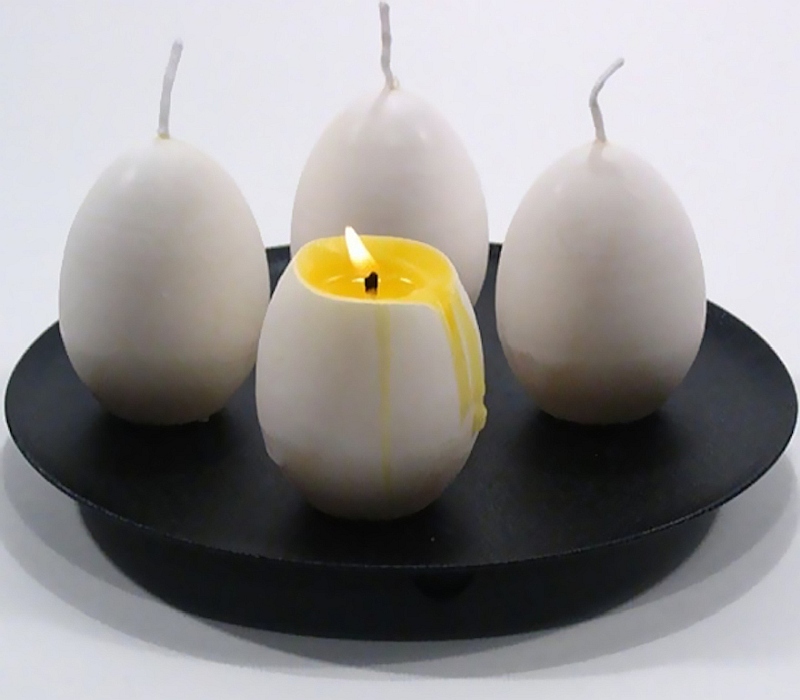
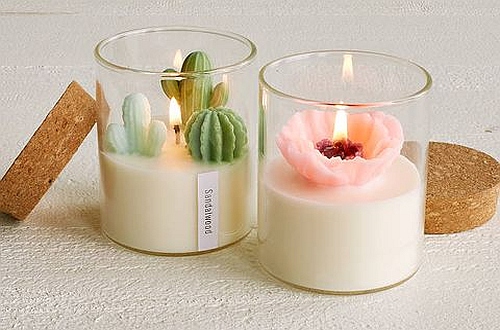
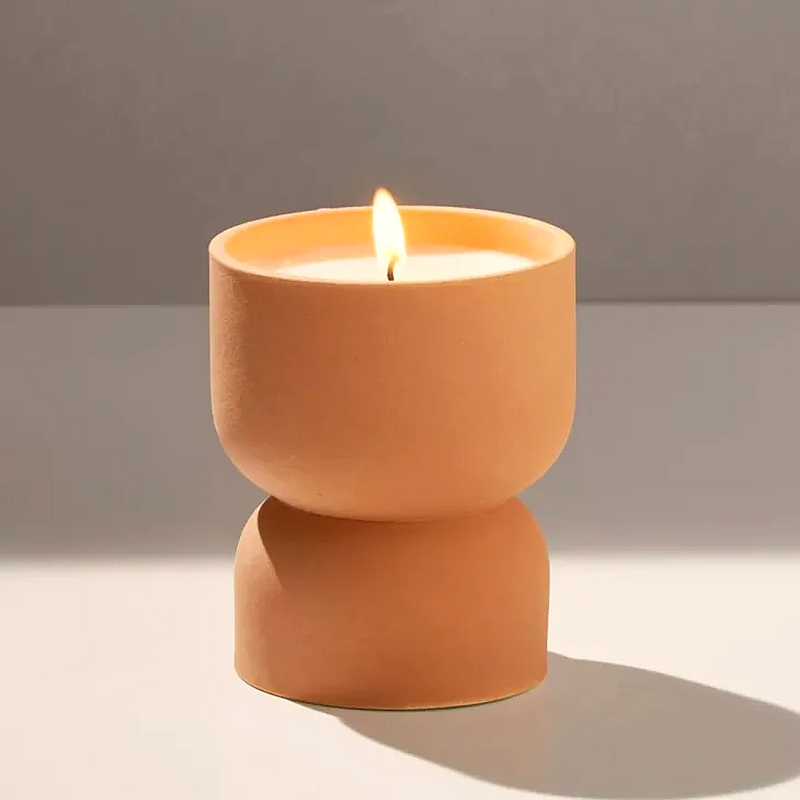
TIP: Although votive candles are small but they create striking points in your home. Make sure you secure them in the right votive candle holders to elevate their appearance and make some bold statements in your interiors.

